🔧 A Handy Guide to Tool Organization
Are your tools scattered all over the place, making it difficult to find what you need when you need it? Don't worry, we've got you covered! Our handy guide to tool organization will help you get your tools sorted and create a clutter-free workspace.
Step 1: Take Inventory
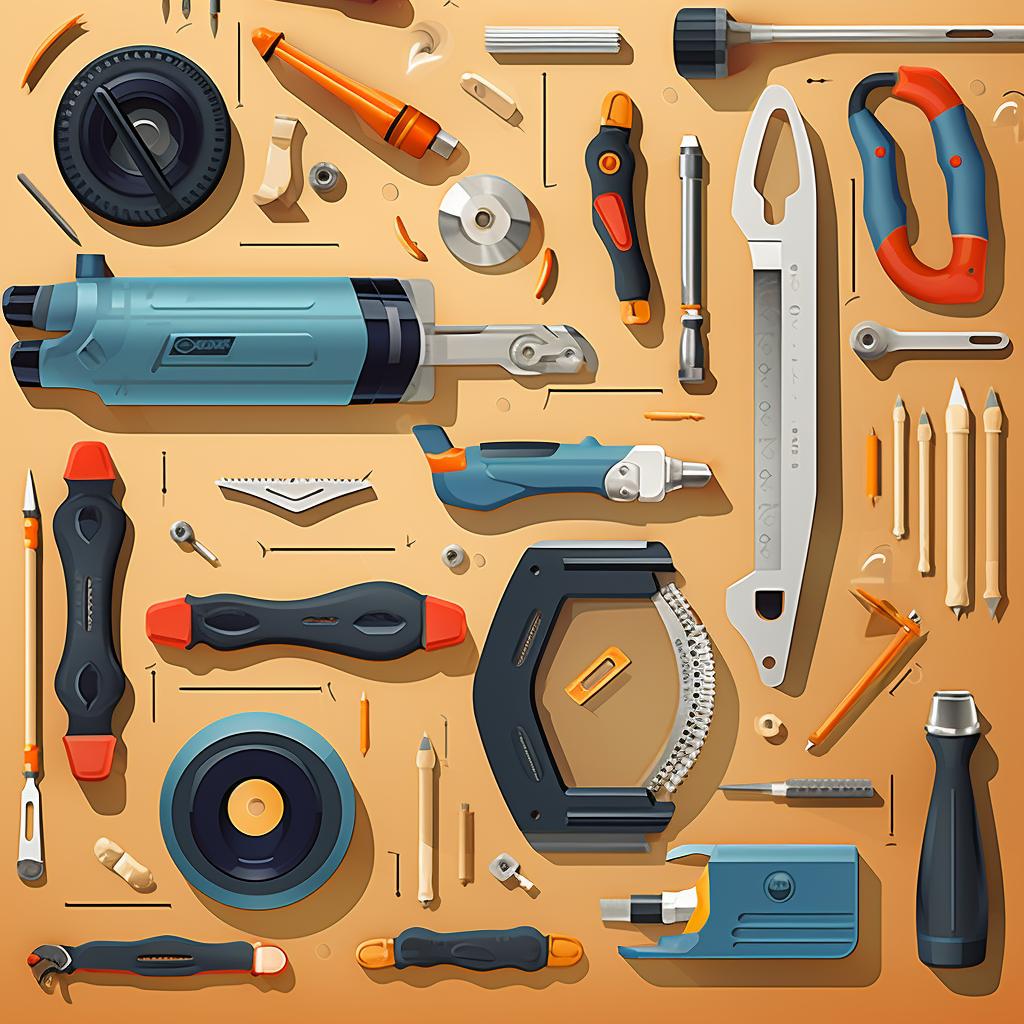
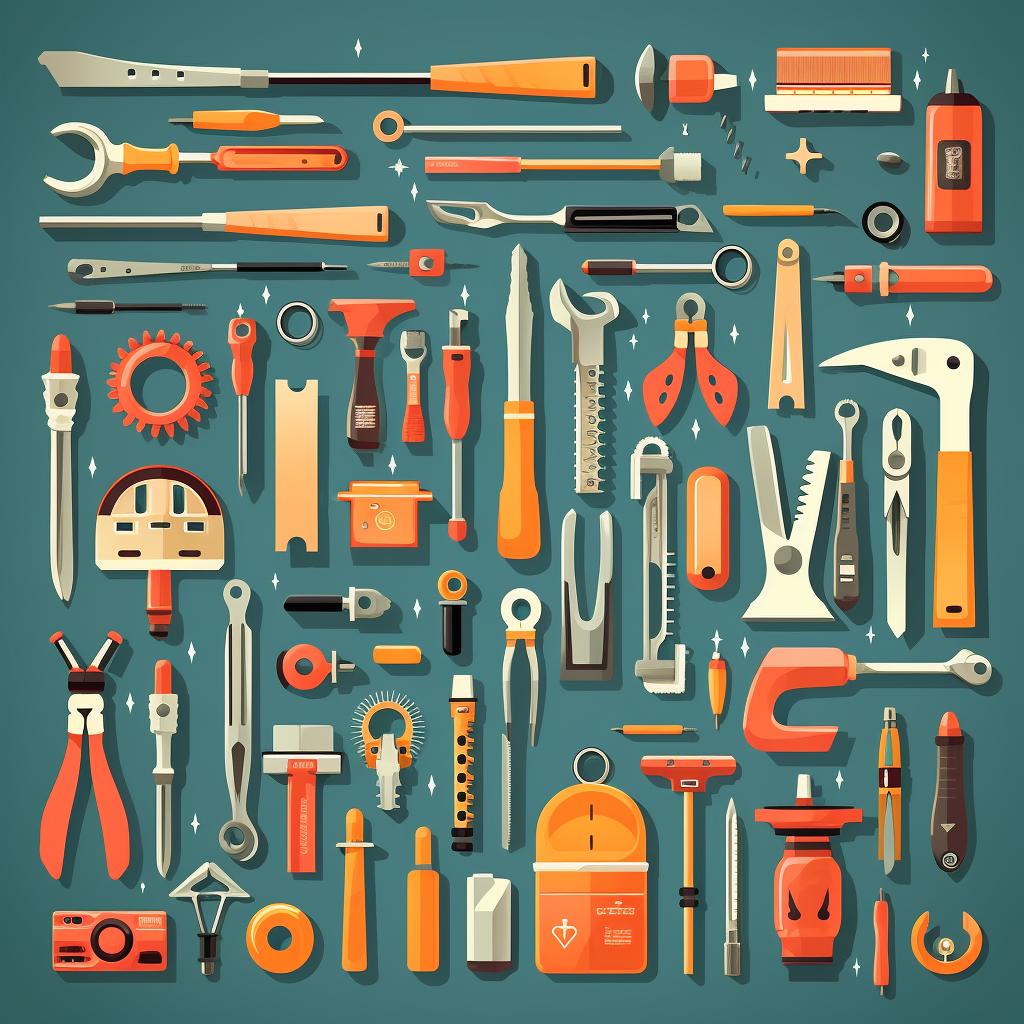
Start by gathering all your tools and laying them out. This simple step will help you understand what you have and what you use most often. Take note of any duplicates or tools you no longer need. By knowing exactly what you have, you can make informed decisions about how to organize them effectively.
Step 2: Categorize Your Tools
Next, categorize your tools based on their function. You might have categories like 'hand tools', 'power tools', 'gardening tools', and so on. This step will make it easier to find the right tool when you need it. Imagine the time you'll save by having all your tools neatly organized into specific categories!
Step 3: Choose Suitable Storage Solutions
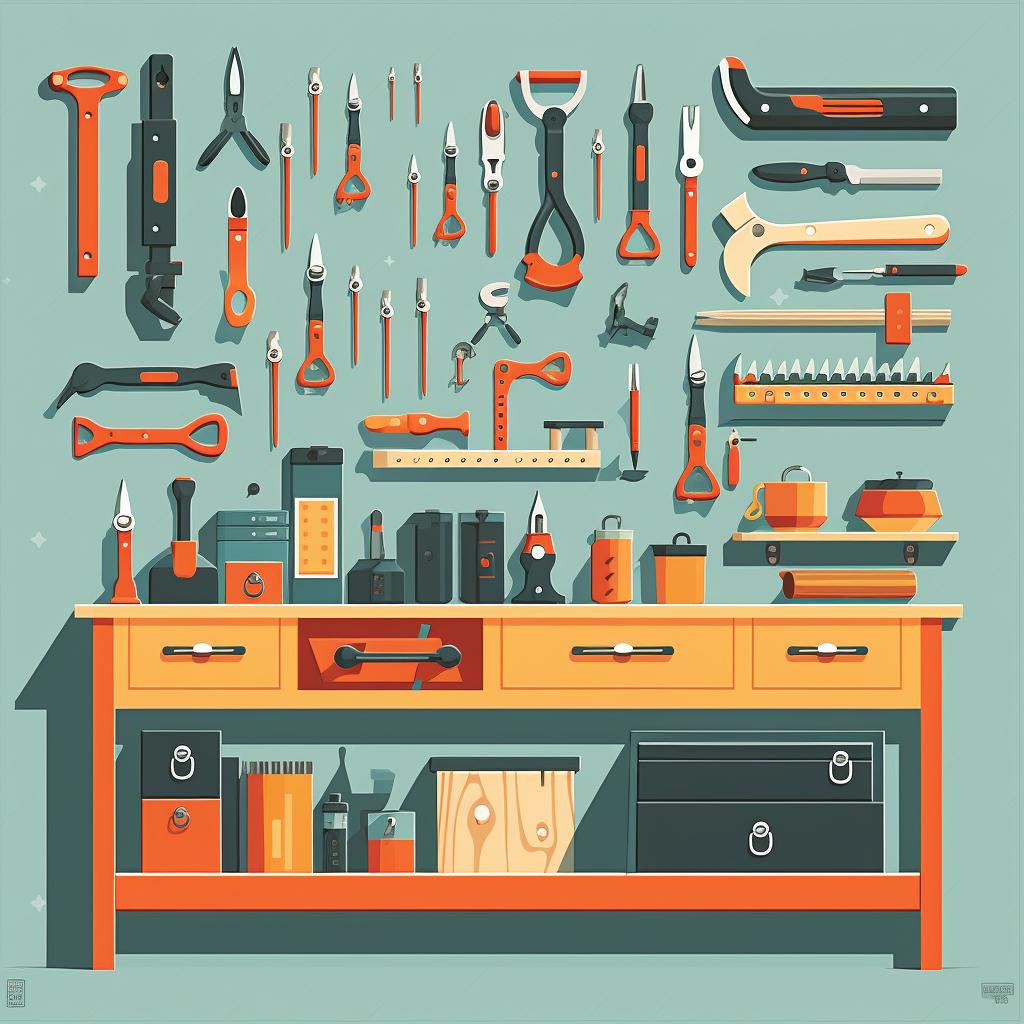
Now that you have your tools categorized, it's time to think about the best way to store each category. Consider using pegboards for hand tools, toolboxes for smaller items, and shelves for larger power tools. The goal is to make each tool easily accessible, so you can grab what you need without any hassle.
Step 4: Label Everything
Once you've decided where everything goes, take the extra step of labeling your storage areas. This simple act will make it easy to remember where each tool belongs and will ensure that others can understand your system too. No more wasting time searching for misplaced tools!
Step 5: Regularly Review and Maintain Your System
Finally, make sure to regularly review your system. As you acquire new tools or your needs change, you may need to adjust your organization. Regular clean-ups can also help keep your workspace tidy and ensure that everything stays in its designated place.
By following these simple steps, you can transform your chaotic tool collection into a well-organized and efficient system. Say goodbye to wasted time searching for tools and hello to a clutter-free workspace. Get sorted and enjoy the benefits of a well-organized tool collection!


