Learn more

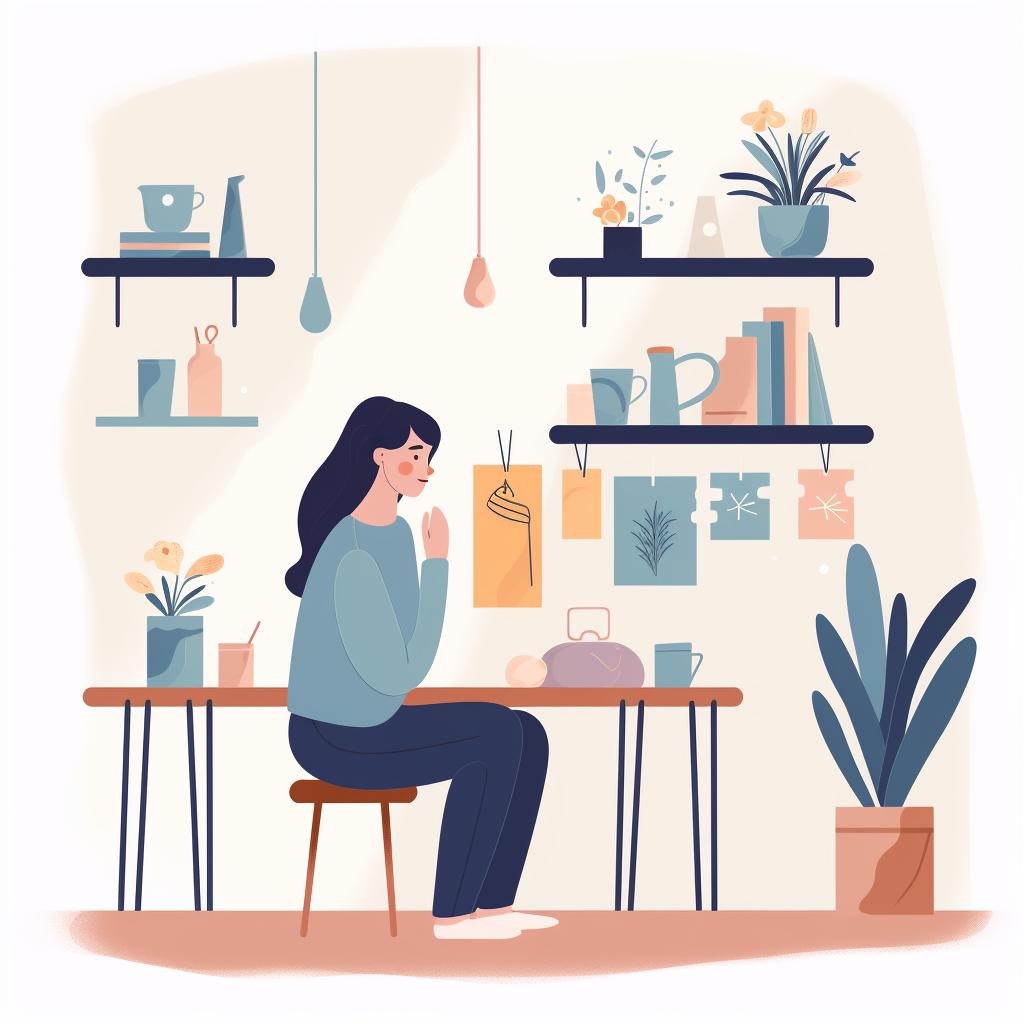

Are you tired of digging through piles of craft supplies to find what you need? Or perhaps your craft room looks more like a disaster zone than a haven for creativity? Don't worry, we've got you covered. Our step-by-step guide above will help you transform your craft room into an organized, functional, and inspiring space. But, let's dive a bit deeper into the importance of organization and some additional tips to keep your craft room tidy.
Why is organization important?
Having a well-organized craft room not only makes it easier to find your supplies, but it also boosts your productivity and creativity. When everything has its place, you spend less time searching for items and more time creating. Plus, a tidy space is a calming space, which can help your creative juices flow more freely.
Additional Tips for Organizing Your Craft Room
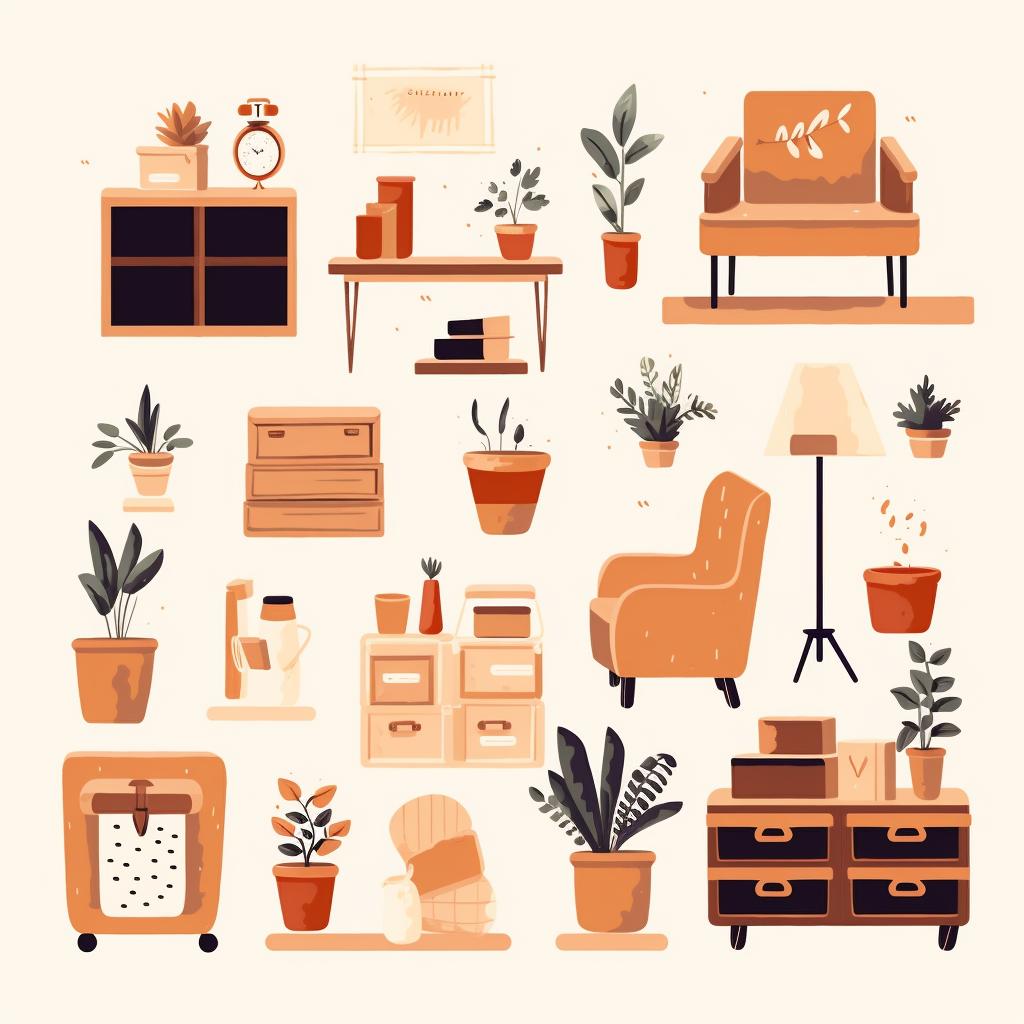
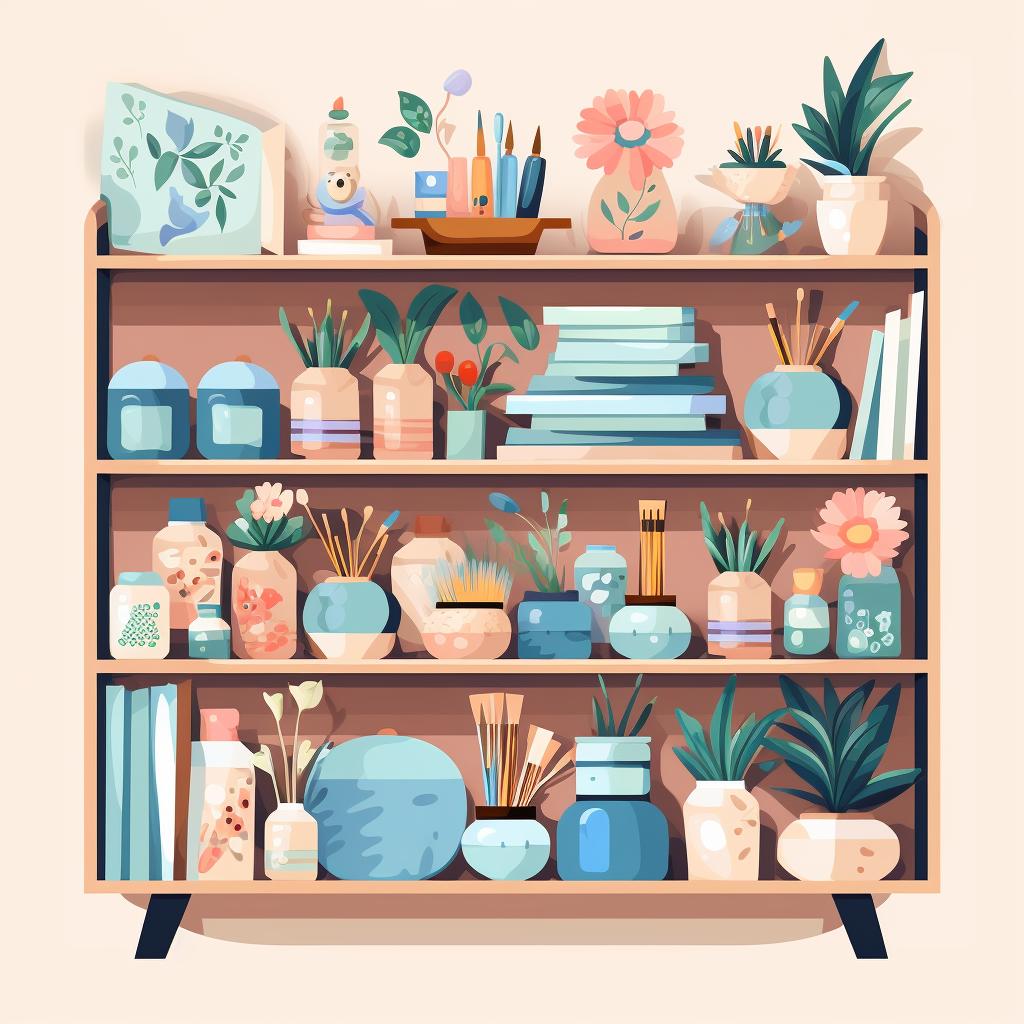
1. Sort by Category: Group similar items together. For example, keep all your paints in one area, brushes in another, and so on. This makes it easier to find what you need and helps you keep track of your inventory.
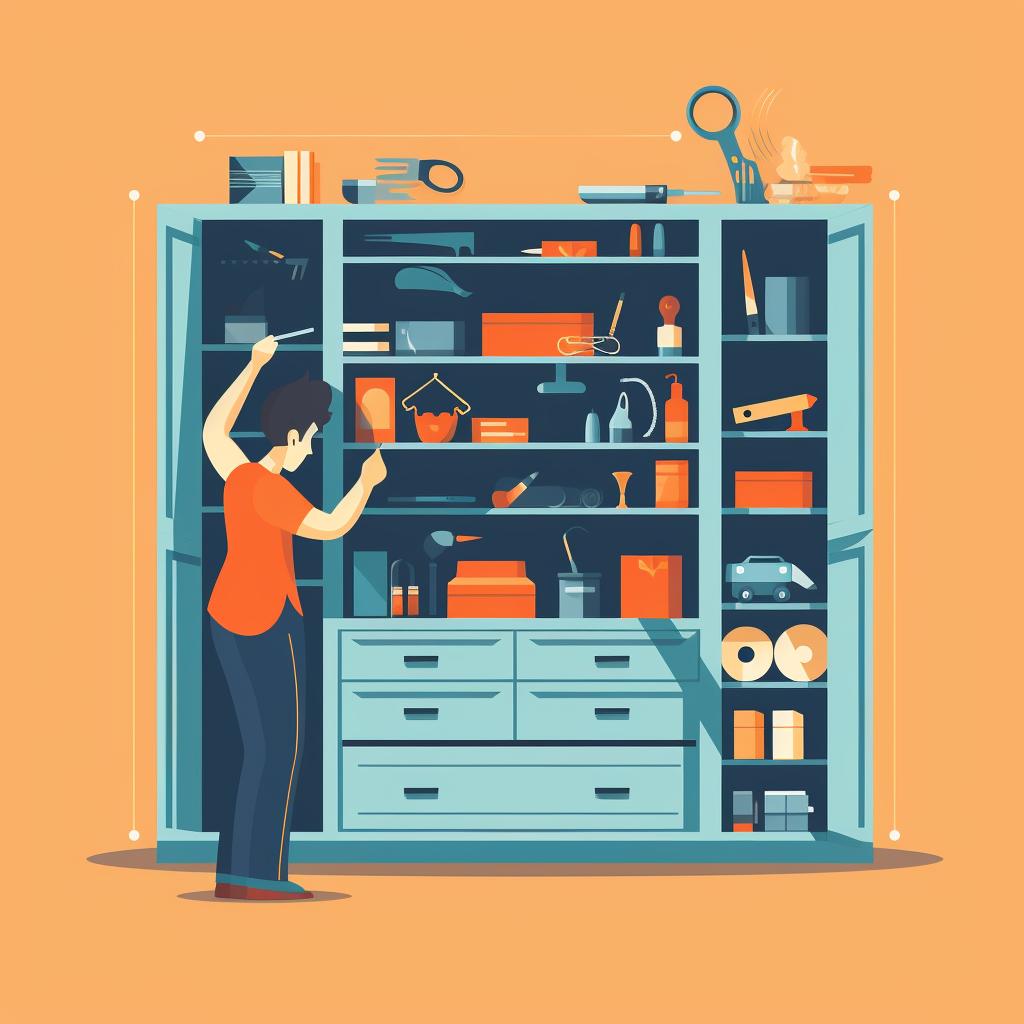
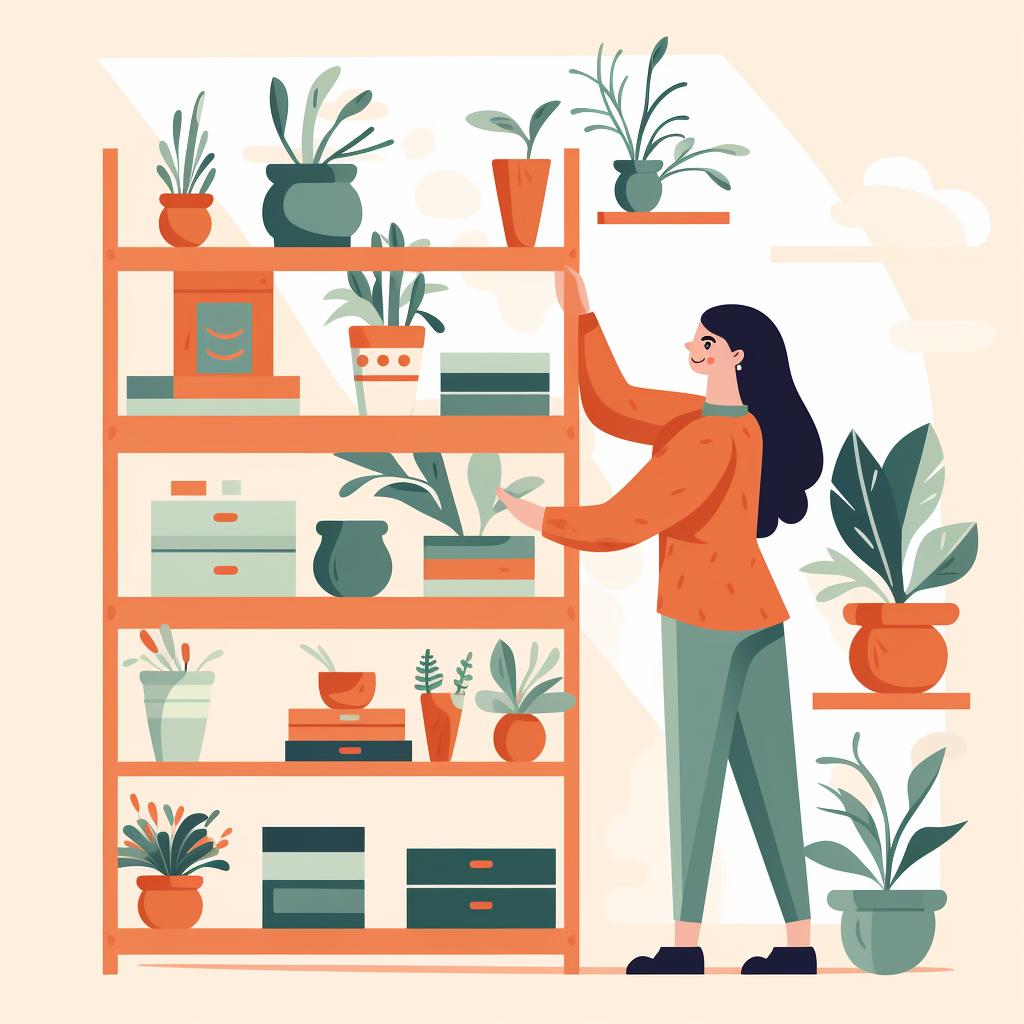
2. Use Vertical Space: If you're short on floor space, consider using the walls for storage. Shelves, pegboards, and hanging baskets are all great options. Check out our guide on vertical storage for more ideas.
3. Label Everything: Labels are your best friend when it comes to organization. They not only help you find items quickly but also make it easier to put things back where they belong.
4. Regularly Declutter: Make it a habit to go through your craft supplies regularly and get rid of anything you no longer need or use. This will prevent your craft room from becoming cluttered over time.
Remember, the goal of organizing your craft room is to create a space that inspires you and makes crafting enjoyable. So, don't be afraid to add personal touches and make it your own. For more organization tips and DIY project ideas, check out our articles on DIY projects using power tools and craft/sewing room organization.
Now, it's time to roll up your sleeves and start organizing. Happy crafting!
All Rights Reserved © 2024


